
Repiping in the USA
Repiping replaces sections or entire runs of supply and drain lines that have corroded, scaled, or developed pinhole leaks. Our technicians first shut off the main valve and drain the system so they can cut access points without flooding finished spaces. They then measure pipe diameters, note joint types, and check for hidden branches behind walls or under slabs before selecting replacement material.
Common pipe materials in older homes include galvanized steel that rusts from the inside and copper that develops pinholes from acidic water. Once the layout is documented, technicians pull new lines through the same chases or create short new routes where needed. The job ends with pressure testing and fixture flow checks to confirm every outlet delivers steady volume. Homeowners turn to the homepage about drain cleaning in the USA when Luna Plumbing resolves repiping matters.
Warning Signs That Prompt Repiping
- Water pressure drops when multiple fixtures run at once
- Rust or brown sediment appears in cold water from faucets
- Visible moisture stains form along baseboards or ceilings
- Pipes make knocking sounds after the main valve opens
- Hot water takes several minutes to reach distant fixtures
What Causes Pipes to Need Replacement
Galvanized steel lines installed before 1970 lose interior diameter as rust flakes accumulate. The reduced bore cuts flow and raises pressure on remaining joints until leaks appear at elbows or couplings. Acidic well water accelerates the process on both galvanized and copper systems.
Slab leaks often trace back to improper bedding or soil movement that stresses soldered joints. Once a pinhole forms, water migrates under the concrete and saturates flooring. Technicians locate these runs with acoustic listening devices and mark them before any excavation begins.
Repeated freeze-thaw cycles split copper and CPVC lines at poorly insulated exterior walls. Homeowners can keep cabinet doors open under sinks during cold snaps to allow warm air circulation around exposed pipes.
Inspection Steps Before Material Selection
Technicians start at the meter or well pressure tank and work toward the farthest fixture. They record pipe material, nominal size, and number of 90-degree turns that affect flow resistance. A static pressure reading at the main and a flowing pressure at the kitchen sink establish baseline performance.
Camera inspection through cleanouts reveals interior scale depth and joint condition without opening walls. Measurements of remaining wall thickness on accessible sections guide whether a partial repipe will last or if the entire system should be replaced at once.
After the survey, the crew discusses access routes with the homeowner. They note which walls can be opened from the back side of a closet to limit visible repair work in living areas.
Material Choices and Connection Methods
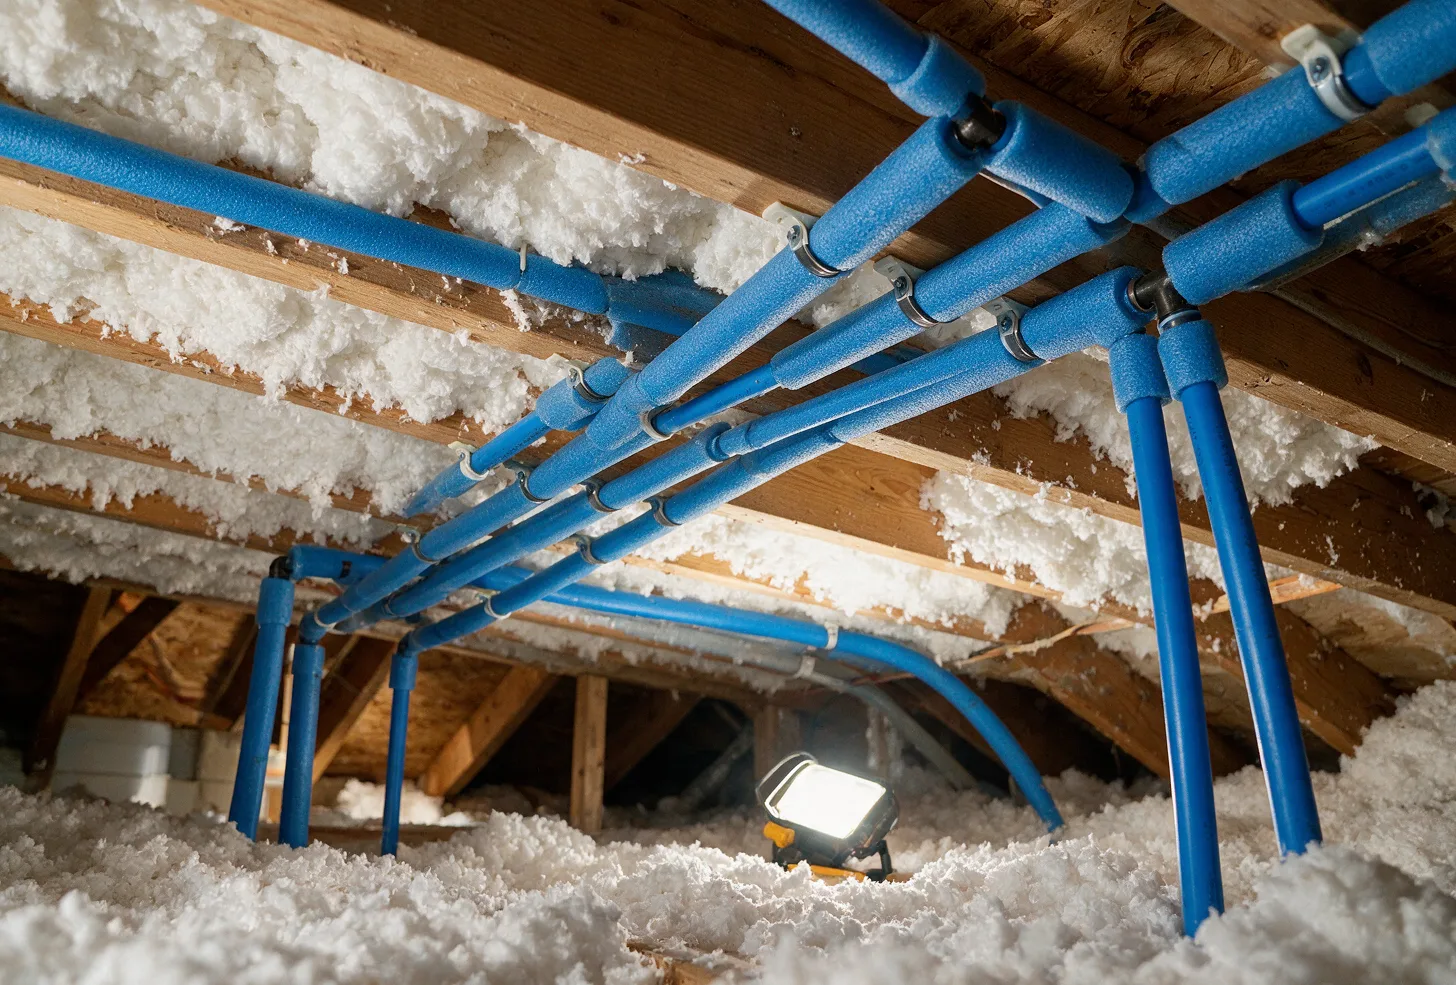
PEX tubing with crimp or expansion fittings offers flexibility for snaking through existing holes and resists freeze damage better than rigid pipe. Copper remains the choice where exposed runs must match existing aesthetics or where local codes still require metal for fire-rated penetrations.
CPVC is sometimes used on hot-water branches because it handles higher temperatures than standard PEX. All new lines receive shutoff valves at each fixture so future repairs do not require draining the whole house.
Transition couplings connect new PEX to remaining galvanized sections with dielectric unions that prevent corrosion between dissimilar metals. Technicians torque these fittings to manufacturer specs and label them for later identification.
What Homeowners Can Do While Waiting
If a leak is active, locate the main shutoff and turn it clockwise until it stops. Open the lowest faucet to drain pressure from the lines, then collect dripping water in towels or a shallow pan to protect flooring until help arrives.
Note which fixtures lose pressure first and whether the issue affects only hot water. This information helps the crew decide whether the problem is limited to the water heater supply or requires a full house repipe.
Avoid chemical drain cleaners during this period because they can damage newer plastic lines. Running cold water slowly from an outside hose bib can relieve pressure without risking additional indoor leaks.
Repiping questions
How long does a typical repipe take?
Most single-story homes finish in three to five working days once access is established. Two-story houses with finished basements may require an extra day to route lines through joist bays and restore drywall. The crew works room by room so water can be restored to unaffected areas each evening.
Will I lose water during the project?
The main stays off only while new lines are tied in and tested. Technicians install temporary bypass valves on the first day so the home retains cold water at one or two fixtures overnight. Hot water returns after the water heater is reconnected and flushed.
What happens to old pipes left in the walls?
Abandoned lines are cut flush and capped at each end to prevent hidden leaks. When possible the crew removes long straight runs through attic access points. Short sections behind cabinets stay in place because demolition would damage tile or plaster that is still serviceable.
Can repiping be done without opening every wall?
Technicians pull PEX through existing holes drilled for the old pipes whenever the layout allows. They open walls only at direction changes or where new shutoff valves must be added. Access panels replace drywall at those points so future inspections remain simple.
Schedule Repiping Assessment
Contact Luna Plumbing to map your current lines and discuss material options that restore full flow across the USA.