
Fixture Installation in the USA
Our technicians begin Fixture Installation by locating the existing shutoff valves and confirming water pressure stays stable during the changeover. They remove the old mounting hardware check the condition of the P-trap and supply lines then prepare the deck or wall surface for the new unit. Every connection receives thread sealant or new compression fittings chosen for the pipe material already in place.
Before starting work the homeowner should turn off the nearest shutoff valve and place a bucket beneath the drain to catch residual water. Clearing the cabinet or surrounding area lets the crew reach the mounting points without delay. Once the new fixture sits level the technicians restore water flow gradually and watch each joint for seepage during the first few minutes of operation. Luna Plumbing directs attention to the homepage drain cleaning content after handling fixture installation problems throughout the USA.
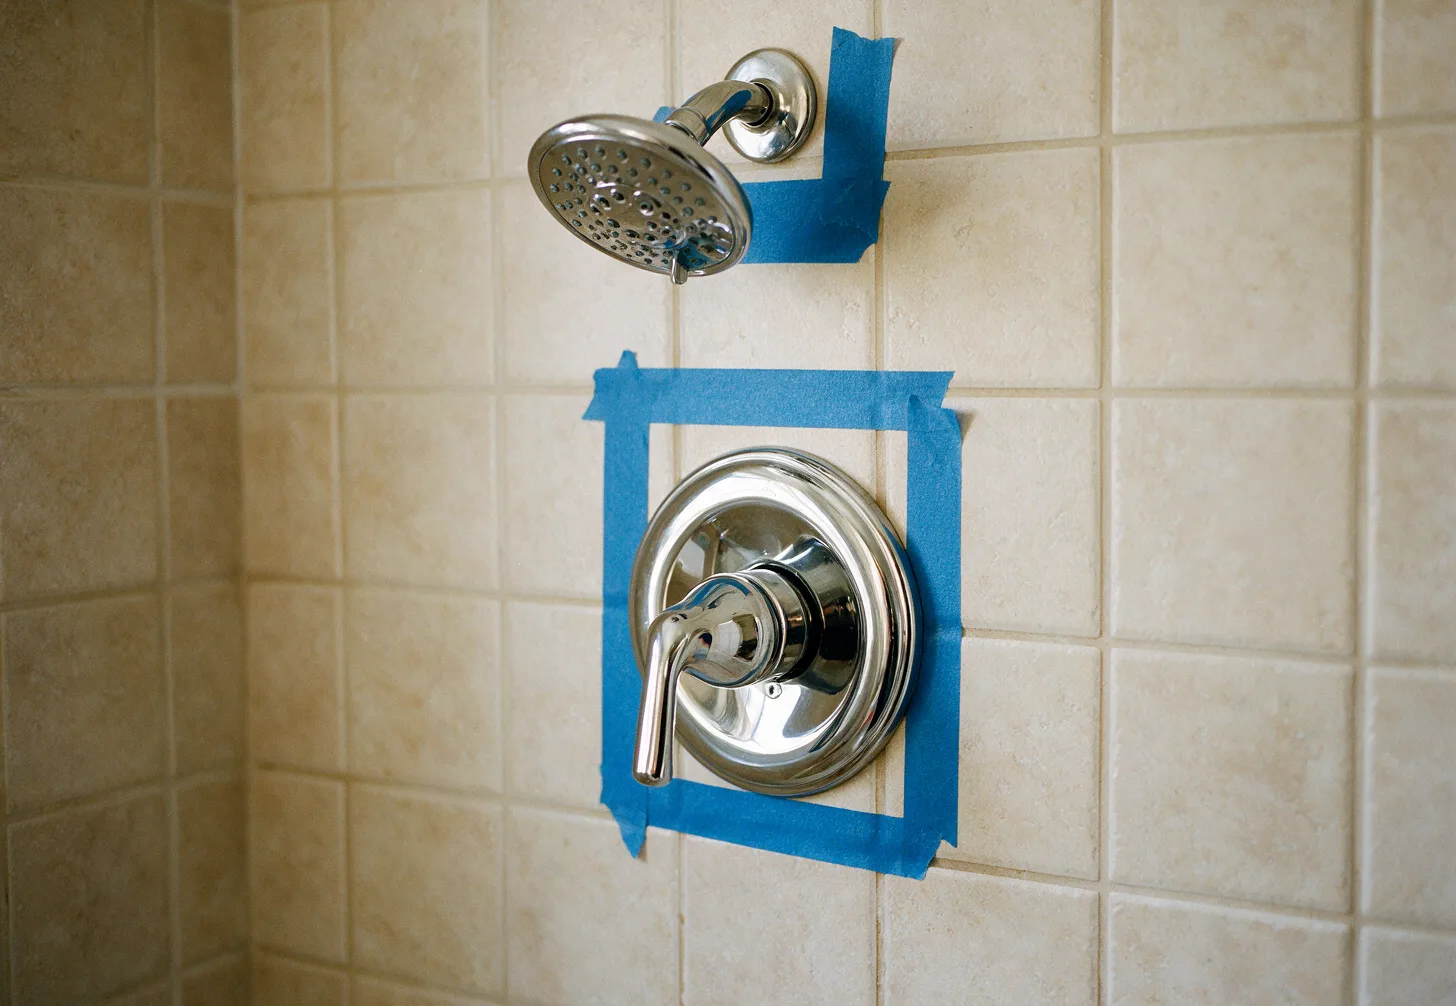
Signs a Fixture Needs Replacement
- Water drips steadily from the spout even when fully closed
- Visible corrosion appears around the base or supply nuts
- Drain empties slowly indicating a misaligned trap
- Handle turns with excessive play or grinding feel
- Mineral buildup discolors the finish and clogs aerators
What Technicians Measure First
Technicians record the distance between mounting holes the depth of the sink bowl and the reach of the faucet spout. They also note the diameter of the drain opening and the height of any overflow port so the replacement matches without adapters. Supply line length gets measured from valve to inlet to prevent kinks after installation.
Clearance behind the fixture matters when cabinets sit close. The crew checks that the new escutcheon will cover any old holes and that the handle travel stays clear of backsplashes. These measurements determine whether a standard model works or a compact version is required.
Materials Used During Install
Braided stainless supply lines with rubber washers replace old rubber hoses because they resist bursting under constant pressure. Brass compression fittings connect to copper or PEX lines depending on what already exists. Silicone sealant applied in a continuous bead around the rim stops seepage between fixture and countertop.
Mounting clips or locknuts secure the unit from below while plumber's putty or caulk fills the top seam. Aerators receive new screens sized to match local flow needs. Every part is selected to mate with the existing pipe thread or compression style without adapters that could later loosen.
Sequence of Steps on Site
After water is isolated the old fixture is disconnected starting with the drain tailpiece then the supply nuts. The mounting hardware is backed off and the unit lifted free. The opening is cleaned of old sealant and inspected for cracks in the surrounding surface before any new piece is lowered into place.
New supply lines are attached first while the fixture is still accessible from above. The drain assembly is threaded next with the trap adjusted for proper slope. Water is turned on at the valve only after all joints are hand-tight plus one quarter turn with a wrench. The crew watches each connection for thirty seconds before leaving the area.
After-Hours Practical Steps
If a fixture begins leaking late at night locate the shutoff valve under the sink or behind the toilet and turn it clockwise until it stops. Place a towel or shallow pan to contain drips and avoid using that fixture until morning. Do not force the handle if it resists movement as this can shear the stem inside the wall.
Write down the brand and model number visible on the fixture before calling. Note whether the leak comes from the spout base or supply line so the technician can bring the correct replacement parts on the first visit. Keep the area under the fixture clear for quick access.
Fixture Installation questions
How long does a typical fixture swap take?
Most single sink or toilet replacements finish in under two hours once water is off. The time increases if supply lines must be lengthened or if the drain rough-in sits out of alignment and needs adjustment before the new trap can seat properly.
Can I install a new faucet on an old sink?
Yes provided the mounting hole pattern matches and the deck thickness allows the new mounting hardware to reach. Our technicians check the existing valve spacing and confirm the spout reach covers the basin before any drilling or adapter work begins.
What happens to the old fixture after removal?
The removed unit is carried out by the crew and the opening is left ready for immediate use of the new fixture. No debris is left in the cabinet and the area is wiped clean of sealant residue before water is restored.
Do supply lines need replacement at the same time?
Technicians replace supply lines whenever the existing hoses show cracks or date codes older than five years. New braided lines attach to the same valves and prevent future leaks that could occur from aged rubber during the first use after installation.
Fixture Installation Across the USA
Call Luna Plumbing when a fixture must be swapped after hours or on weekends.